
With iDVD no longer available for new Mac users, it is important to find an alternative if you still wish to make DVDs. Roxio Toast 11 is a program that has been around for a long time and used by many Mac users to create DVDs. It has a simple but powerful interface for burning video DVDs. You can customize it and add slideshows and data too. https://macmost.com/j-toast
▶ You can also watch this video at YouTube.
▶ Watch more videos about related subjects: Video (64 videos).
▶ You can also watch this video at YouTube.
▶ Watch more videos about related subjects: Video (64 videos).
Video Transcript
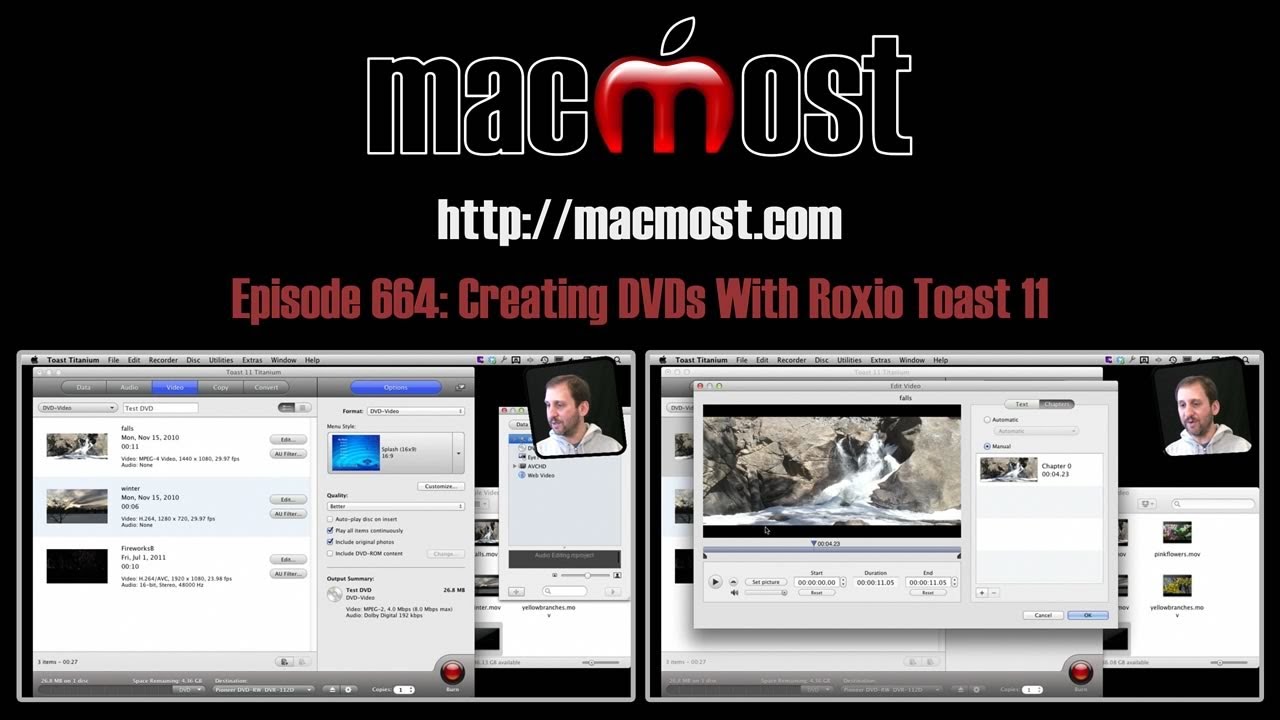
Hi, this is Gary with 'MacMost Now.' On today's episode let me show you how to make video DVDs using Roxio Toast.
So iDVD is no longer available to new Mac users. So it's important to find an alternative if you want to keep making video DVDs. One good alternative is Roxio Toast. Toast has been around for a long time, since the 90s.
It's kind of a Swiss army knife when dealing with anything having to do with optical media. Burning CDs, DVDs, converting video, all sorts of things. Let me show you how to use it to make a basic video DVD.
So there's several different ways to get into the video DVD creation portion of Toast. One is using the Assistant here and just going into Video. And it just shows you all the different options.
The main one here we'll deal with is creating a standard video DVD to playback in DVD players.
You can also create one for a Blu-ray disc player with hi-def video but you need a Blu-ray disc burner. If you don't have a Blu-ray disc burner, you can still use a Blu-ray player to playback high definition video that you record onto a standard DVD in this special feature here.
So let's go to this one here. Now another way to get to it is to simply close the Assistant and then you can see you go to the main interface here and you have the different options at the top and you would go to Video at the top and then you would select which option you want right here.
So standard, DVD-Video. And then you would go ahead and name it. And then basically you can drag video right here to the middle. For instance, let's go and drag some video off the Finder, right here and stick it in. And I can continue by dragging more videos right from the Finder.
Now you can also bring up the Media Browser which should be pretty familiar to you and you can go in and do what you do in other programs and bring up different things like photos and video and drag them from here into the DVD offering portion here.
Then you have your menu-style creation over here. So we can click on this and choose what type of menus we want. We can then change the Quality and other settings like Auto-play on Insert and things like that even adding some DVD-ROM on that, some data files to the DVD to use up extra space.
Now you usually get a lot more options than this because I've switched users and all the data for the different Splash screens are on the other user you only see the one here. But you can choose from all different backgrounds and all the different styles of Buttons.
And then in addition to that you can Customize and then drag your own image to the background. This means that you can really create menus that look different than anybody else's.
So while iDVD has a lot more options in exactly how you put your DVD together, this feature is really kind of nice because you can kind of make a unique DVD with just very simple drag and drop and then choosing some things like Number of Buttons, different Text Color, Background Color, things like that when you play around with this.
Videos themselves here you can go in and edit so you can actually set start and stop points and even set Chapters inside of a video. So you can say set Manual chapters here and add them at certain points like right there.
And so you can play around and basically do some nice changes here to your videos in how they're set, even setting the picture for that video to a certain point. All sorts of things to play with.
So then of course when you're done you want to use the big, red Burn button. That will burn the DVD to this DVD writer right here, perhaps the drive in your iMac or MacBook Pro and then you create your DVD.
You could also, and I like this feature a lot, is you can save as a disc image. So that will actually put it as a file that's a DVD on your Mac so you can test it out right from there and burn multiple copies of that disc image later on.
And yes, like with iDVD you can also create slideshows in Toast.
So for instance I'm going to go to the Media browser, this way, go into Photos and look at the Sample Photos here and select a whole bunch of them, select them all and drag them down into here and create a slideshow.
I can then edit the slideshow. Change the order that things are in. Also go ahead and set the duration, set the Button Picture for the button on the screen. All sorts of different things that I could do. And add a slideshow very easily to my DVDs.
So while no application is going to be a direct replacement for iDVD, it doesn't have all the different features, it is a great way to create DVDs. It's really simple and easy to use.
As a matter of fact a lot of people were using Toast to create DVDs even while iDVD was the primary tool and came with every Mac. So give it a look.
Till next time, this is Gary with, 'MacMost Now.'


Nice Video! But what about iWeb? I have a 2012 Mac Mini without iDVD and iWeb? Are there any other good Apps for creating Websites?
I do not recommend using an "app" to create web sites. See episodes 565-567.
So, why do you think Apple not going to use iDVD anymore?
They aren't. iDVD is not included with new Macs, and hasn't been for some time. iDVD came with iLife 11, but iLife 11 no longer exists as Apple doesn't sell boxed software anymore. Three apps from iLife 11 can be bought in the Mac App Store, but iDVD and iWeb cannot. They cannot be downloaded from anywhere from Apple. And Apple has started selling Macs without optical drives (Mac mini, MacBook Air). Even with iLife 11, iDVD was only included as the same old version from iLife 09. The box even said: "iMovie, iPhoto, GarageBand" and didn't mention iDVD.
Gary, thanks for this great coverage for Toast!!!! You do such a great job. Have you ever considered a biography video of yourself?......what you did before and how you got started with MacMost.
You can always check out my short written bio at http://garyrosenzweig.com
Thanks Gary, I will......thanks again for all the great videos.
Gary
Long time fan, first time question. My future son in law just went to Kuwait for a year. He has no room for stacks of his movies. I have a Mac and want to copy his DVDs onto his HD. He has a Windows laptop. I am having no luck copying the DVDs from the Mac to the HD. It is a brand new HD from Seagate, and Mac/Windows friendly. I was opened for use with both. HELP! Thanks in advance. PS keep up the excellent work!
Gary, I understand that even though the DVDs are his own and it is his HD, it is against the law to copy the movies. I figured a working copy would be ok. Apparently not. Sorry for any inconveince from this post.
I think what you want is episode 492: http://macmost.com/importing-dvd-video.html
You can make copies of those DVDs with Roxio Toast Titanium.
Gary, is there anyway one can name each Chapter ? Or even just have Chapter numbers ?
Check with the Toast docs -- but I think you just use numbers.
Gary, sadly no info in the Toast docs. I can name each DVD and I can mark the Chapter locations, but the Chapter markings on the DVD Menu come up as "My Movie" and I cannot seem to be able to alter this - which makes a nonsense of having Chapters at all. At least I would like to be able to name "Chapter 1", "2", etc, although ideally I'd like to be able to say what each Chapter is (eg "Preparations", "Service", etc). Also it appears to only let me choose 2, 4 or 6 Chapters (I happen to want 3 !) Any advice would be gratefully received, even if it's only how I go back to Roxio to ask them for help. Regards, Peter
http://forums.support.roxio.com
Hi Gary, I've been trying to decide whether to buy roxio toast 11 or the Wondershare DVD Creator for mac that the App Store offers. I know roxio is more expensive, is it worth the extra money in your opinion? I am new to this whole area and do not need any glitches to figure out. DVD Creator seems to have more problems when I search for reviews and yet is advertised as the iDVD replacement of choice. I sure wish my new macbook pro had iDVD on it, but it doesn't. Thanks for your opinion. I've learned a lot from macmost now!
I haven't used Wondershare, so I don't have a way to compare them.
Hi
Just got toast 11 and wonder if you can help.
I burned a DVD in compressor and it played on TV fine with correct spacing to the side of screen and had normal black bars top and bottom. (I know why they are there)
The same content burned in Toast, but then the DVD fills the screen so stretches everything so now my graphic are off the side of the TV. The DVD is unwatchable. I can't find any settings in toast to change this.
Off-hand, I'm not sure where that setting would be. Maybe email Roxio support, or check their forums? But if you have a good DVD from compressor, then why not use that one?
The Toads DVD Maker is good but I'm looking for a small program which can create nice dvd menus and so on. I don't need all the other functions from Toast.. Anyone knows one?
Toast has been ok regardless of its bloated size. But what really irritates me and made me stop using it was when burning a VIDEO_TS file (or two to a single blank DVD-R) was its annoying warning and refusal to burn them by claim they were CCS or CCS protected videos, witch none of them were! Every video I was trying to burn were either self made or Bootleg live concert videos by artists that are not on the list of artists that have a hissy fit about their music being bootlegged. The vast majority don't care, Bob Dylan, most if not all Punk bands and hundreds of others. Will this new version be able to tell the difference? if not than its still just a useless bloated waste of space and I'll just continue to use LiquidCD and hope they release an update for Lion and Mountain Lion.
First, have you reported this to Roxio? They won't be able to fix things if they don't know about them.
Second, keep in mind that just because artists "don’t care" doesn't mean that it is allowed. An artist would have to specifically grant rights through a legal process -- and get permission from every interested party (publisher, label, etc). You or I am not like this, but it is how it works.
I didn't know that Toast had the ability to detect copyrighted content. Interesting. I wonder how they do it? Maybe it is a bug in the software that is detecting something on your recordings -- all the more reason to contact them and see if there is a solution.
Gary,
I am dismayed that the new Macs no longer have IDVD because the DVD product created would play on DVD TV players and on computers. Does the new Roxio Titanium also create DVDs that will play on TV DVD players as well as computers?
Yes. Toast an other video DVD creation software makes standard DVDs that will play on DVD players and computers that have DVD drives.
Hi I have got ? for you
how many minutes HD video can you burn on DVD at a time with Toast 11
Zero. You can't put HD video on a DVD. Not a video DVD, at least. DVDs are only SD. http://macmost.com/dvds-are-not-hd.html
We create DVDs to distribute promotional videos. Source videos are in .mov 1080p format shared to 720p in Final Cut Pro X.
We tried every predefined option including “Best” and Toast 11 results are disappointing - pixelated and jerky, especially when panning. It’s not the question of scaling HD movies. We can create a DVD with Compressor using a single video and the quality is great. Are we doing something wrong? Or, is there a professional quality DVD authoring software for the Mac.
So are the videos jerky before you build the DVD? Or only on the DVD itself? If the DVD looks good when you use Compressor, then why not use Compressor?
DVD only.
Compressor does not allow for DVD authoring. Basically all that can be done is to burn one video. We have already contacted Apple support in that regard. We understand Apple's position re DVD but are disappointed nevertheless.
We see that Mac DVD burning quality issue is quite present on the Internet and it seems that the only option available to achieve professional results is to use DVD Pro from the Final Cut Pro 7 that apparently still works with Mountain Lion.
Well, you can still use iDVD if you can get a hold of that. Or, buy another DVD authoring tool -- there are many.
How does one set-up glitch-free chapters? I am converting some Laser Discs to DVD and I find I have to treat each chapter as a separate file in Toast Titanium which works OK. I can have a picture for each chapter BUT there usually is a brief pause when you reach a chapter change. If I set to "automatic" but I cannot set the pictures for each chapter nor name them. Am I overlooking something obvious?
I think you'll need to compose the DVD video so it is one file, not separate files. So Toast may not work for this -- but try it. Otherwise, you'll need to find other DVD creation software.
Thanks for the advice Gary. I did notice some slider controls under the "automatic" chapter stop menu. It looks as if you could preset the sliders so that the specific place (as opposed to the defaults such as "every 5 minutes") and someone could see the item they wish to jump to. No naming provision appears to be available.