
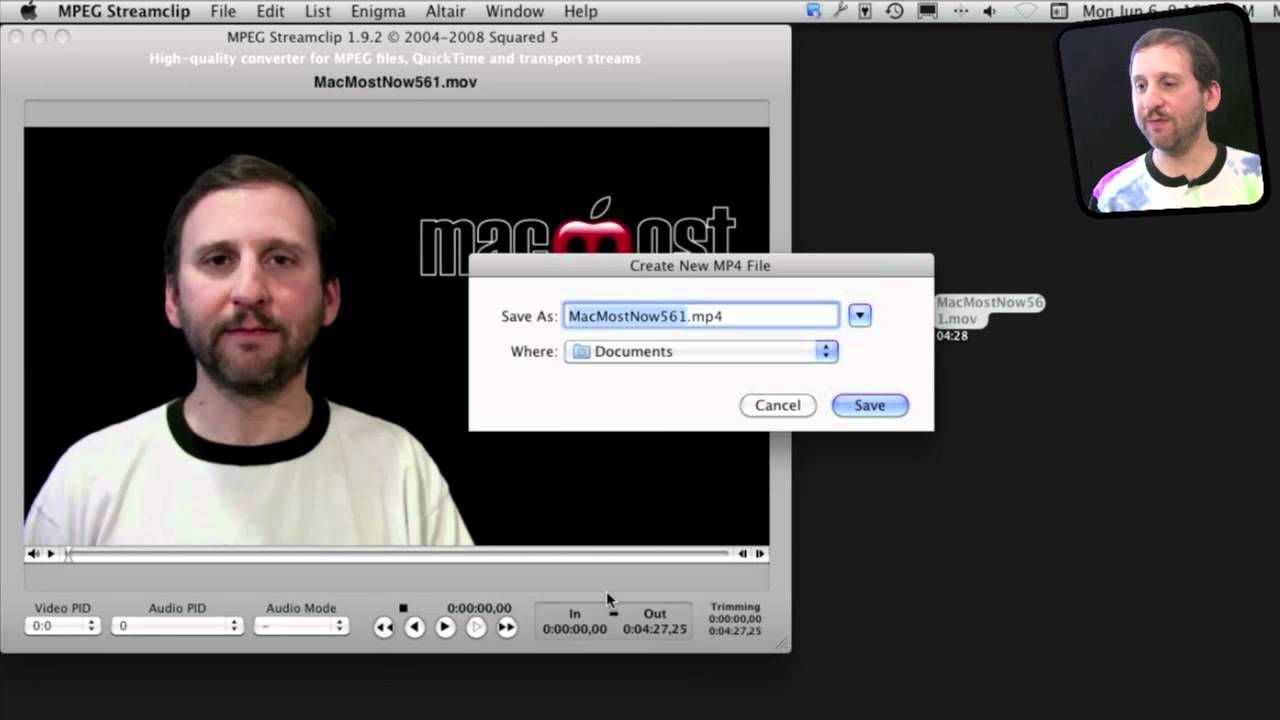
If you have produced a video in iMovie and the file size is too large, you can use a free program called MPEG Streamclip to compress it with little loss of quality. The key is to use .mp4 with h264 compression and then adjust the bit rate to get the right trade-off of file size versus quality.
▶ You can also watch this video at YouTube.
▶
▶ Watch more videos about related subjects: iMovie (138 videos), Video (65 videos).
▶
▶ Watch more videos about related subjects: iMovie (138 videos), Video (65 videos).


Gary what is a good normal size to send a video through email to compress. Or any other to send through would be appreciated.
In my opinion there is no good compression setting to send video via email. Video is just too large for email. You will either run into message size limits on one end or the other, or just make your recipient mad when they have to download a huge file on their end.
Instead, use a service like DropBox to upload the file. Then send them a link.
Or, better yet, upload to something like YouTube and send them a link. Make it private if you like.
Thank you, so much once again. Thanks for sharing your great video's with us. Learned so much from you....
Thank you for sharing your expertise, Gary! I'm "new" to video. My question is this: does the mp4 format you've compressed in MPEG Streamclip equate to "flv" that my web person says I need in order to upload to a WordPress site?
No. FLV is a special file format that is used by a Flash movie (SWF) to play back videos. An FLV by itself isn't good for anything. Not sure why your "web person" said to create an fly unless he or she has already created an SWF Flash movie for video playback. So I'll refer you back to them for specific instructions.
I am new to this. I used a free converter called Flv Crunch,and i converted it to MP4. The Film was Waterloo,but when i came to watch it,there was just a thin strip of the film,and it was filmed in Panavision. I used the Flv Crunch Converter and i changed the sizes bigger,but it came out smaller,and i had another go,but it just seemed to get smaller. I know this is ABC stuff to you. Can you tell me how i can make it bigger like the original Gary
I'm not familiar with that piece of software. I'd contact the maker for support.
What i wanted to know was i made number`s higher so to me common sense says it should have made the picture size bigger. Any way thanks Gary.
hello gary. as usual learned a lot. I have a macbookpro running lion. my question regarding MPEG STREAMCLIP. .
you mention utube in your answer to (Imacer99 6/29/11). will i need the BETA Version of MPEG STREAMCLIP to up load to UTUBE? On the squareD site i read that a MAC user needs to buy a copy of MPEG STREAMCLIP beta version 1.9.3b7 which is compatible with utube.
If I use VIMEO would MPEG STREAMCLIP 1.9.2 should work for me?
Thanks
You don't need to use MPEG Streamclip to upload to YouTube or Vimeo. Just use it to compress your video. Then use the YouTube or Vimeo web-based interface to upload your video.
Thank you, And a double thanks for your super fast reply.
with gratitude,
chuck
You are awesome Gary!
Thanks so much for posting this.
You've saved me lots of time and energy.
I use this all the time for videos and DVD's that I get and need to convert somehow. Simple interface and free. Gary is great and knows his stuff.
Hi Gary, I have compressed my Canon 60D 23.98fps footage to ProRes422 w/ MPEG Stream Clip. All of the compressed footage is much larger than the original raw file though. Is that supposed to happen?
Probably. ProRes422 is simply a higher quality than your original. So don't use it. Use something like MP4 with h264.
Thanks Gary!
Hey Gary,
Great tutorial. I have a question though. I am trying to send a video over the internet for download unsing MPEG Streamclip. I exported it as a quicktime from mpeg and then send it but it seems to be unreadable by the downloader? Do you have any suggestions for me? Would an Mp4 be more readable? and if i send that mp4 as a quicktime will the downloader still be able to see it?
In a bit of a bind. Advice is greatly appreciated.
Thanks,
Alex
MP4 is just a file type that can contain many different things. But it is a file type recognized by lots of computers, so I would use it in this case. Create an mp4 file with standard settings. But aren't you doing that now?
Hey there, one question. I recently made a time lapse video out of about 650 frames and the resulting file was a 3.7GB Quicktime. When I try to play it in Quicktime (or other players such as VLC and MPlayerX) it can't seem to handle the high quality pictures or perhaps the frame rate (20fps). Would compressing the video using the method you describe in this video fix this? Or do I need to try something different? Thanks for your help.
650 frames and it is 3.7GB! What software are you using to make the video? Perhaps you should try a different export setting. Otherwise, sure, try MPEG Streamclip (why not try it?)
I used a program called Time Lapse Assembler. Each of the frames is an 18MP jpeg, so maybe that's why the video is so large? I did try MPEG Streamclip, but it comes up with an error every time I try. Not sure what's going wrong at this point.
I would go back to that Time Lapse Assembler and try exporting with better options.
Success! Thanks for your help!
can I compress my uncompressed MPEG back into an MPEG? I'm trying the burn clips to DVD. Also I'm following this video but my videos are not being compressed. Please help me!
All MPEG videos are compressed. You can re-encode them (kind of like unpacking a suitcase and then packing it again) using this method to get a different file size and/or video quality.
But if your goal is to make a DVD, that isn't the right approach. You should use a DVD creation tool (iDVD, etc) -- the video needs to be re-encoded again to use DVD format. See http://macmost.com/imovie-export-settings-for-dvd.html
Hi Gary,
I'm creating an iBook with iBookAuthor using many old public domain videos from Internet archive. I need to convert them from mp4 into m4v and IBA is fussy about the m4v files it accepts. (FYI - Handbrake doesn't create m4v that IBA will accept.)
I'm also trying to compress file size to keep the iBook as small as possible. I've been experimenting with Compressor with some success. Any other ideas you have?
Sorry, I haven't tried to make an iBook, let alone one with video. I'd just find out the specs and stick to those. MPEG Streamclip should do it, but I'm sure Compressor will too. Just experiment to get the settings right for your project.
Gary just a superb application with MPEG4 streamclip!!!! Question can audio be applied to existing audio and how. Great job your awesome
So you want to change the audio in a video? You would use an editing tool for that -- like iMovie or Final Cut. GarageBand can do it too if you know how.
Thank you so much for this :)
Gary, thanks for your post. I use the GoPro (which makes videos in .mp4) but to best view them I compress them into .mov files (at 100%). Im rather new to mpeg streamclip and 3.8G files become 13G files...do you have any recommendations for settings to maintain the quality of 2.7k (24f/s) video so its not so huge? Ill experiment, but thanks for your help!
Create an mp4 file with h264 compression. Try setting it at about 5000kbps to start.