
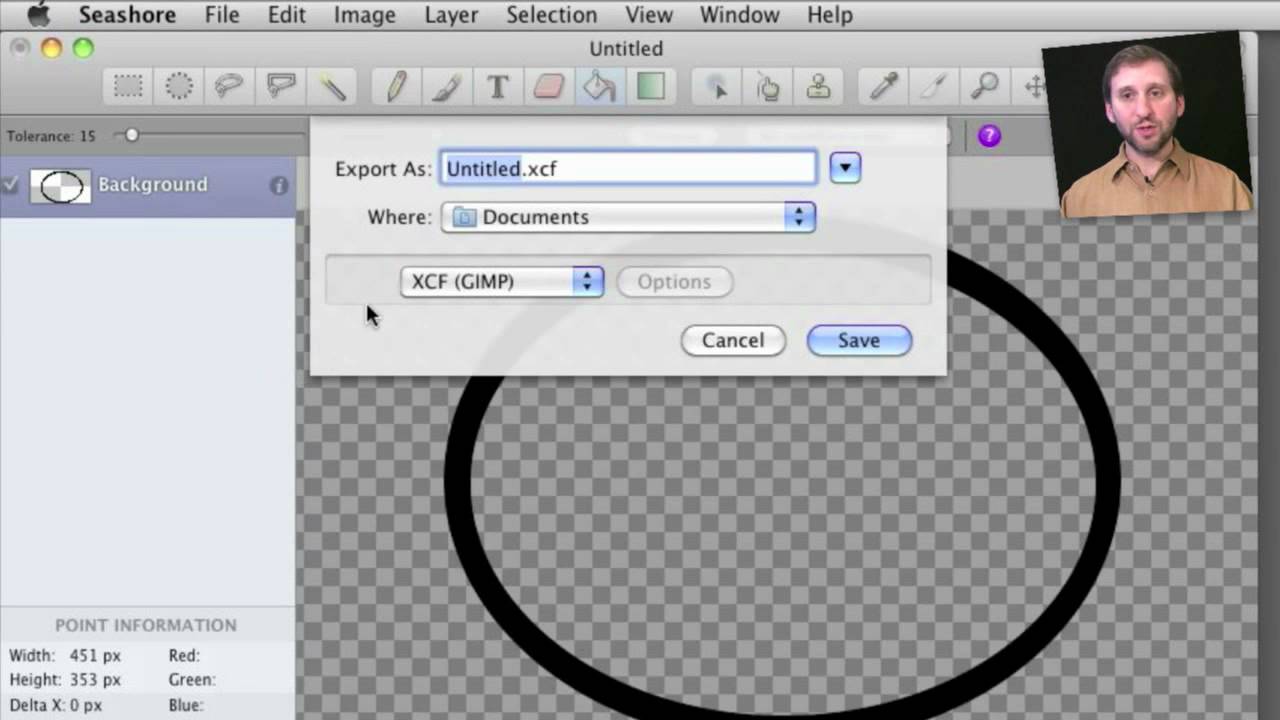
Learn how to use Seashore to create a 32-bit semi-transparent image and then use that image as an overlay to point out or highlight something in your iMovie video.
▶ You can also watch this video at YouTube.
▶
▶ Watch more videos about related subjects: iMovie (138 videos), Video (65 videos).
▶
▶ Watch more videos about related subjects: iMovie (138 videos), Video (65 videos).


hey, gary video is great
I followed it completely and the picture in picture works when I go over it when editing it, but when i play the entire video it freezes and just skips the part that i put the picture in.
Do you know why can I fix it?
I am using imovie 09
Do you mean when you play it in iMovie, or when you export and play the finished video? Keep in mind that playing back in iMovie means real-time compositing of your effects. So it isn't perfect. Unless you have a very powerful machine, it will just do the best it can. Try exporting the video to see the real result.
when i play it in imovie,
and am using macbook pro, just trying to make a football highlight tape and circle myself in it or show where i am
I am with Michael in which i am making a football highlight tape. what i want to do though is make the video pause for a lil bit while the circle is on the screen, then have the cirlce vanish and the tape resumes. is there a way to just delay the video for a couple of seconds, so then a person watching the video can identify where i am and continue watching without any hassle??
Sure. Just Control+Click on the clip in the project area where you want it to freeze. Then select Add Freeze Frame. Then select and change the duration of that freeze frame. Add your overlay if you like.
That helps a lot.. that works for iMovie 11 right? And is seashore downloaded in all macs automatically?
Yes. Works in 11. Seashore is something you have to download.
Hi, i follow all your steps and then when I drag into Imovie and click pic in pic i get a black box that is just black, no circle or anything. I have tried this with many diff objects like arrows from other folders even, but every time, whether its your transparent circle or not, I just have a black square. I appreciate the help!
It probably comes down to how you made the graphic. It sounds like it isn't made right.
I followed your video step by step multiple times I believe
Not sure what the problem could be. Hard to tell without being there.
I got it to work. Thanks for all your help. I have it as a freeze frame, picture in picture for the beginning of a play. When I play it in the timeline, the circle highlights myself as a freeze frame and then the play begins, but when I play the entire film (fullscreen), it just freezes the play beforehand and goes to the next after the freezeframe, but without the circle I have of the next play. Sorry if it is confusing
i have the exact same problem
any suggestions?
Gary, I found your tutorials very useful. I am trying to do an overlay circle on a photo. When I move the playhead with the mouse I can see the effect, but not when i hit spacebar to preview the movie? Can you help?
Don't count on "preview" to show you everything. It is a real-time render of the final product, so iMovie has to cut corners to show you anything. Try exporting to see what you will really get.
Does this work in iMovie '11 too?
Great tutorial, by they way :)
Yes.
Hi im having trouble to find the correct download i have typed seashore.sorceforge.net and it gives me heaps of links could you please give me an exact link?
You spelled "Source" wrong. http://seashore.sourceforge.net
Hi.. I have a issue with overlay or transparent on iMovie 11.. When I drag it to picture on picture it won't allow it.. It will only go to either side of the clip I'm covering.. I have my preferences set up correctly and it did work when I first purchased imovies 11.. Help please!!!
Not sure. Try different things. Try adding to another clip. Try creating a new project. Try doing it with another picture. Etc.
when i go to export, png does not show up in the list. please help
im using imovie 11
What program at you using to try to create the PNG?
I created an transparent image with PS6 (.PNG) when placing the image on the imovie11 timelime (PIP) the image appears with a "black" background and not a transparent one :( Any suggestions. Thansk!!!!!!!
It sounds like you didn't create the image properly -- it must be a 32-bit PNG with transparency where you want it.
First of all thanks for the prompt reply Gary. It is exported as a PNG, actually a very simple image, but don't find where to determine the PNG to be a 32-bit in PS. That must be the issue.
Must be. I'm not a PS expert and rarely use it. But look around and check the docs and I'm sure you'll figure it out. Maybe a PS expert can help?
sure thing Gary. Thanks a lot. BTW, your videos are great.