Filling In the Sides of Vertical Video in iMovie

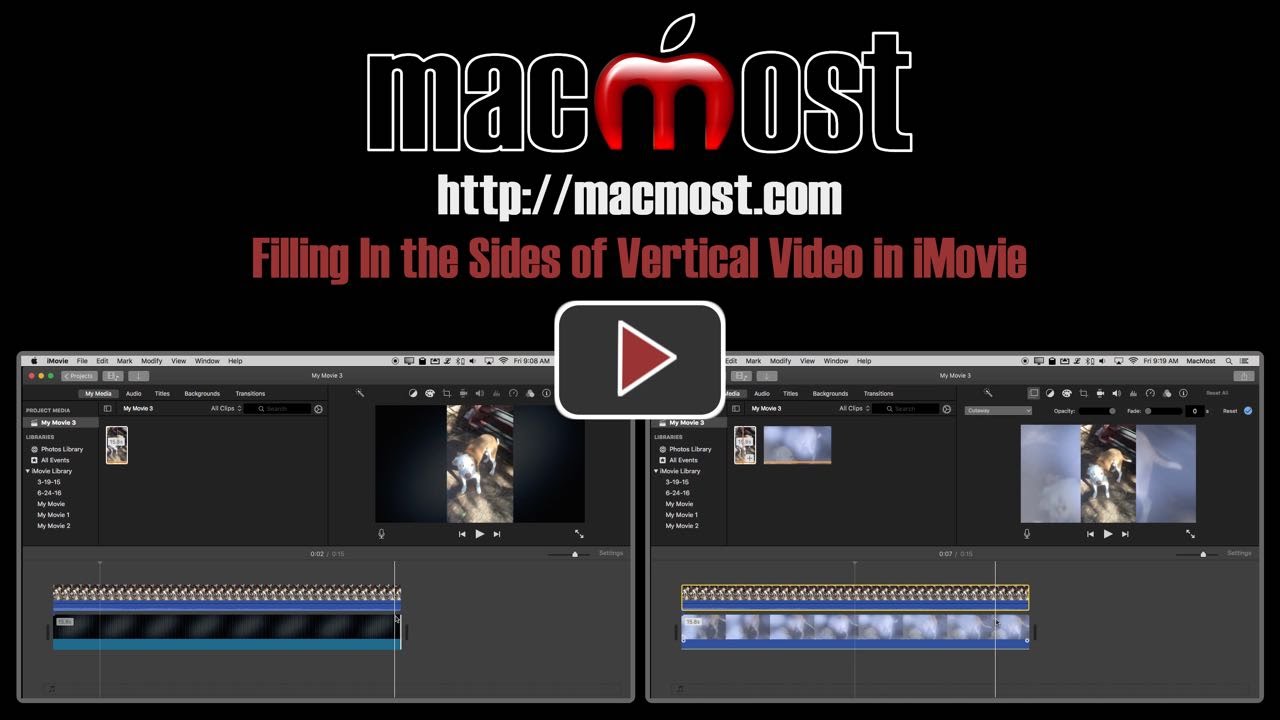
If you accidentally record video on your iPhone in vertical mode, you end up with two ugly black bars on either side of the video when viewing it on a TV. You can use iMovie to fill in those sides with an animated background, or a blurry copy of the same video. Take a look at a variety of techniques for dealing with vertical video in iMovie.
You can also watch this video at YouTube.
Watch more videos about related subjects: iMovie (136 videos), Video (64 videos).

Video Transcript

Hi, this is Gary with MacMost.com. On today's episode let me show you how you can deal with vertical video in iMovie.
Let's say you took some video with your iPhone and you made the mistake of taking it in vertical mode. It's very common because it is easy to hold your iPhone to take video and then you look at it on TV or your computer and you realize that it was probably a mistake. You never see TV or movies or anything like that shot in vertical mode. It's all horizontal mode, of course. So you should get in the habit of always turning your iPhone horizontally to take video.
But let's say you want to actually create something with this and now you've got the problem where if you put this in iMovie you're going to end up with basically what people call two black bars on either side.
Let's create a new project here and I'm going to drag and drop this video in to the media. You see now if I drag it here, here's the preview. We've got a black bar here and a black bar here and the video, which while high resolution, is actually shrunk down to fit in here.
One way to deal with that is if you only need what's in the middle here you can go to Crop, and Crop to Fill, and it shows you the area that's going to be used. You can move that around, hit OK, and then you get something that fills the whole screen but you're missing the top and the bottom. There's really no way to fix vertical video. You're either going to have to do without the top or the bottom, or you're going to have to shrink the entire thing so that you've got black bars on the left and the right.
But when you see this on TV, because a lot of times people send vertical video into news stations and they're showing some video and you've got left or right black bars there they fill it in with something. They just don't leave it black. We're going to take a look at how you can do that with iMovie. It is very easy to do in advanced programs like Final Cut or Premier. Do all sorts of things. There is really not a good function for it in iMovie but there are some things you can do.
So the easiest thing by far is to use a background to go behind this. I'm going to remove this video so I have a blank project down here. There's my vertical video. I'm going to go to Backgrounds first. Scroll past the maps part and get to the regular backgrounds. There are several backgrounds that work really well. You can use a basic Gradient. A lot of people like to use Industrial for instance. A lot of good things that you can use or just use a solid color or something like that.
But the Curtain one has moving, flowing curtains. Blobs is really good because it's kind of animated and so it Underwater. Let's just do something really simple here and use Industrial to show you how it works. I'll drag it down into here. Shrink the area here a little bit. I'm going to go over to My Media and drag the actual video as a cutaway on top so the main video is really the background and my video is cutting away there. I can expand the background so that it matches the time of the cutaway. 
You can see now instead of having nothing on the left and the right I now have the background showing there which is a little bit better. Now if I wanted to switch them out I'll drag Blobs into there instead, replace it. I'm going to have to stretch it again. Now you can see I've got something actually animated back there. You can see the blobs moving around.
Now you're not stuck with the color. The color of Underwater or Blobs or even Curtain you can actually change that. If I select it and look at all the things I can do with the video here I can adjust it if I want. So I can actually go into Filters and use one of those filters there. Switch it to black and white for instance. Or I can just go into the color adjustments here. I can, say, desaturate it. I can then apply and have it go blue or yellow. I can supersaturate it as well and adjust the color a little bit. So you have this mobility there. Adjust the color and the brightness to kind of mix the effect up and make it a little bit different.
You can kind of mix and match these. I can apply a visual effect like that and also change the color. So there is a lot of different things that you can do. That's a pretty nice effect there. So you have something going on on the left and the right and you've got your regular video in the middle.
But let's say you want to take this a step further and you actually want to have the same video but blurred in the background. You see this a lot on news programs. You can do that too. Unfortunately you can't really do it very well but it might be good enough.
I'm going to delete what's in there so I start off blank again. I'm going to go to My Media and take the vertical video and stick it in there. I get it with the black bars on the sides. I'm going to go to Cropping, Crop to Fill, and select the area I want to use. So now I've got the video filling the space. 
So what I want to do to it is I want to kind of blur this because this is going to be the background part. So you can easily do it with the filters just as I did there and choose something like say Dreamy. Then maybe you could even go to colors and do something like desaturate it and make it all like a single tone. I can bring down the contrast or bring it up to create all sorts of different effects. Let's just leave it like that.
I'm going to bring the video in again but this time overlaying the top. So now I've got the video as an overlay and I've got the video as the background. I've got two audio tracks here so I want to make sure that I either remove the audio track from one of these like the background or just drop its volume to zero so I don't duplicate the audio there.
So here you go. A simple, quick way to do it. It doesn't look as good even if I play around with all the different color corrections and filters. It doesn't really look as good as what you see on TV when they have to do this on the news or something. But it is quick and easy to do.
Here's a more complex method that allows you to blur the background even more. I'm going to start off by choosing a background like Blobs. I'm going to put that in there. Then I'm going to put in my video on top that's an overlay. I'm going to change the cropping of the overlay. I have the overlay selected. Cropped to Fill. Select the area. Hit OK.
So now I basically have this Blobs background behind the overlay which is filling the space so I don't see the blobs. But I will. I'm going to stretch it here so they are the same length. I'm going to select the overlay again. Click on the overlay adjustment button here. I'm going to change the opacity so I'm going to make it semi transparent over the blob. So you can see the blobs and the regular video. Now I can adjust the blobs here. I'm going to do color adjustment, desaturate it, maybe change it to like a blue. I can maybe play with any of these other settings here to get it how I want. 
Now I've got something that's a little blurrier. I can even make it blurrier than that. I can go to Titles and take the Full Focus title, bring that in over everything. What Full Focus does is that it blurs background and puts a title over it. I'm going to make a title that is nothing. I'm just going to put a space there instead. Now I'm blurring it. I've got a semi transparent overlay over these blobs that are moving and changing. 
I can go even more here. I can adjust this to add filters and do whatever I want to it. Like I can go here and let's add the Dreamy filter to even make it blurrier. So now it's a very blurry, weird video and I'm going to export that. I go to File, Share, File, Export. Call this one background. Now export this thing as a separate file.
Alright, now it's done exporting. I'm going to go through all this. I can save it if I want. Make a new project. But I'm just going to delete everything. I'm going to take this background video that I just created and drag it in here. Now you can see its this blurry video. Just one thing. I'm going to go into My Media. Take the original video. Put that over it. Make sure I silence one of the two audios. Now I've got what I want. I have a blurry, weird background and I've got clear vertical video in the middle.

Comments: 4 Comments

    Denise Tirone
    9 years ago

    After watching the video, I believe I would just keep the black side bars. thank you for the education.

    Lindy
    9 years ago

    I hate when people post videos with the black bars filled in with blurry copy of the same video... it is soooooo distracting and has no redeeming aspect whatsoever. Now I know how it is done but it doesn't make it any easier to watch those videos. Everyone....PLEASE DON'T DO IT.

    John
    9 years ago

    Great teaching video!! You have given me more ways to improve my iMovies!
    Thank you!

    Paddy Zoller
    9 years ago

    Gary, I'm very happy that you did this episode! Not only does it answer the question of how the News People do this but I especially am happy to learn some more effects to use with iMovie (i.e. the transparency feature of video). Could be a great effect for title background for example. Keep up the good work and feeding us good ideas to stretch our creativity. :)

Comments are closed for this post.