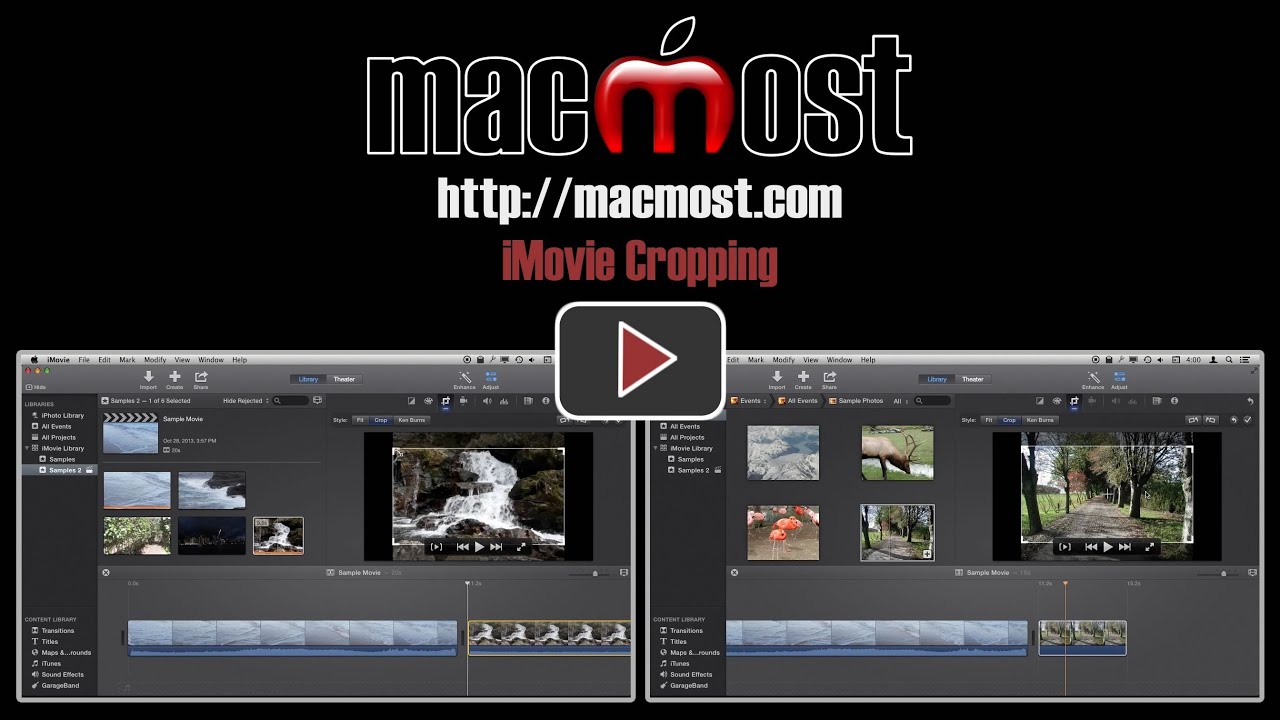
When you have a video or photo that does not fit into your iMovie video project exactly, you most crop it one way or another. You can decide to cut off portions of the image so it fills the frame, or you can show more of the image, but have black bars in the space not covered. You can adjust the cropping to best fit your needs.
You can also watch this video at YouTube.
Watch more videos about related subjects: iMovie (136 videos).
You can also watch this video at YouTube.
Watch more videos about related subjects: iMovie (136 videos).
Video Transcript
Hi this is Gary with MacMost.com. Let's look at cropping videos and photos in iMovie.
So I am using iMovie version 10 here and let's take a look at how cropping works. A lot of people get tripped up by this. So in this example here I've got a bunch of clips. You can see these first few clips are in 16 x 9 format which is the same format as my project and it is the format that most people use for video now.
But I have an older clip here that is 4 x 3 and you can see there it almost looks square compared to this. So you are going to see a difference when I try to bring these into the timeline. Let me go and just bring this into the timeline here and I will then bring this in after it. You can see that they both fill the area here but it is definitely cropping here. You can see that the top and the bottom compared to when I just look at the clip here, now I look at it in the project, it is clipping off the top and the bottom to stretch it so that the size of the video stretches all the way across.
Now I have some choice when it comes to this. I can select this here and go to adjust and select cropping. You can see it already is indicating that it is doing some cropping here. You can see exactly what part of the video is going to be visible in my project.
Now if I want I can drag this up and down. So I can move it. So say if it is more important and I see the video at the top or more important that I see the bottom. I can even drag the edges here so I can focus on a certain portion of the video. Of course, if I want, I can drag it to be larger than the area here and that is going to give me black bars on the left and right because there is simply no video there for it to show. So if I select this as being what I want then I close the adjustment window there and I can see that I've got those black bars and that is how it is going to show this video. So it is kind of my choice. If I want to show see more at the top and the bottom I'm going to have to have black bars on the left and the right because there is simply nothing else there to show.
Back in the cropping options I do have the option to say Fit. What Fit will do is it will make it fit so the entire video is visible which is going to give me the maximum black bars on the left and right here in order to make sure that the top and bottom of the video fit in place.
I can also, of course, choose the Ken Burns effect which will allow me to animate from one to the other. So I can animate from a starting position to an ending position here and as I scrub across the bottom, after I close the adjustment here, I can see it. You can see it going from one cropping to another cropping.
Now you are going to run into this whenever you use a 4 x 3 video like this one in a 16 x 9 project but it is going to happen even more commonly when you go and try to bring in a photo because photos, in general, are not 16 x 9. So let's bring in a photo here. I'm going to bring that in and it is going to, by default here, my project is going to assign the Ken Burns effect.
But let's change that. We can either do Fit which is going to create black bars on the left and right or you can do crop as before and then we can adjust the cropping.
Now this works a little bit better with photos because photos are usually a much higher resolution than video. So even if I decide to crop and pick a smaller area there I'm going to end up with pretty good quality because there is plenty of pixels for it to choose from to zoom in on that spot. But there is no way for me to show the entire image without having black bars. That is just not possible. If I choose Fit it is going to show those black bars because in order to get the top and bottom it is going to have nothing on the left and right to show in that space.
iMovie has always been a mystery to me.. It didn't helped when Apple changed apps from iMovie HD. So thanks for this iMovie series. Very good and useful.
To view an entire photo at 16:9 try Kens Burns effect full-width at the top/beginning of the photo, and also the bottom/full-width ending of the photo.
To spend hours/days on end playing with iMovie, Logic Pro X to eventually master an applications potential. Ah …! the joys of life. :)
The relatively recent epidemic (the last few years) of enlarging and cropping films and movies (by movies I mean videos) is a postproduction atrocity that should be outlawed. Besides altering the visual history record, that is, the carefully composed framing, whether it is historical news material or storytelling, the result is a horrible degrading of the resolution of the image compared to the modern high-definition video. Even Ken Burns, the master documentarian, succumbed to this horrible practice recent documentary about the Central Park five.
Another good trick when placing still photos that don't fit 4:3 or 16:9 is to layer two copies of the same photo. Take a photo and blur it in Pixelmator. Place this photo in your imovie project. Then place another UNEDITED version of the same photo over top. Select "green screen" in the cutaway option drop down. Even though there is no green screen used, the black bars will be replaced with the underlying blurred version of the same photo. It makes a nice effect.
does anyone now how i can crop more than one videos at the same time ?
in the old imovie it was possible to select all clips with cmd + A and than crop all at the same time in exactly the same way.
thanks