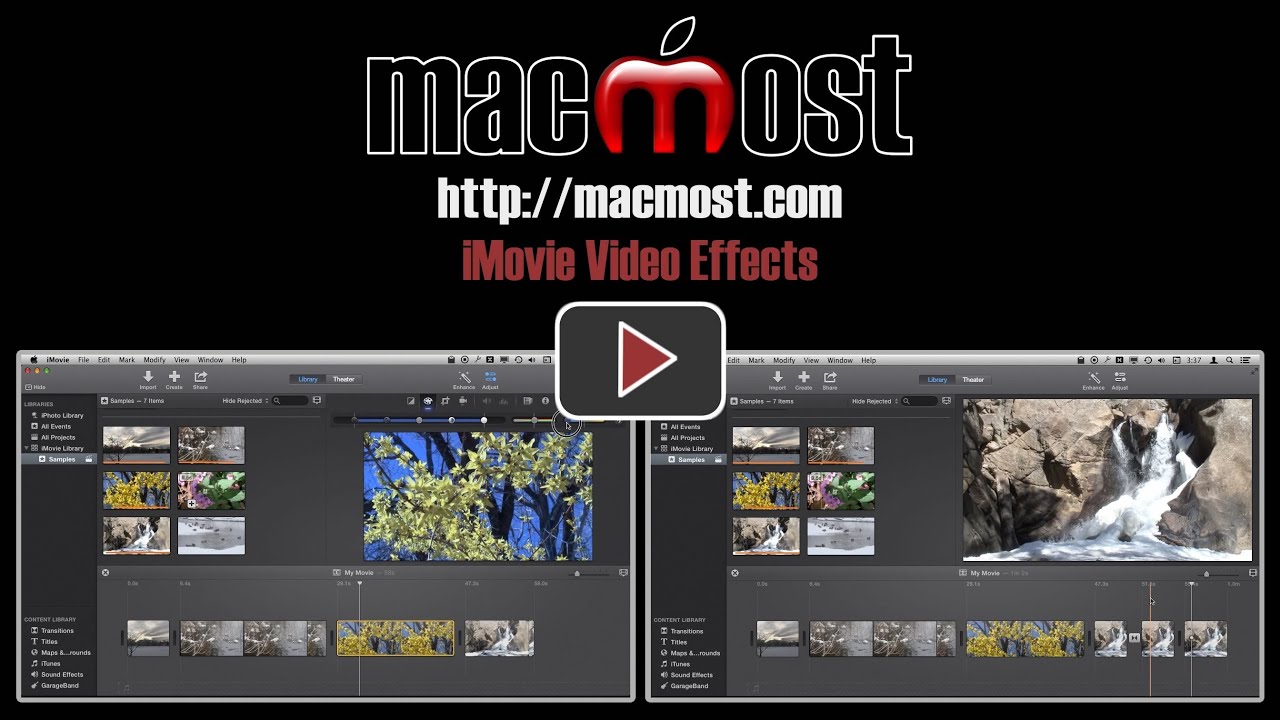
iMovie Video Effects

Explore iMovie's video effects. You can make color and quality adjustments on each video clip. You can also apply a variety of special effects, like aged film, to each clip. Controls let you speed up, slow down or freeze frame.
You can also watch this video at YouTube.
Watch more videos about related subjects: iMovie (136 videos).

Video Transcript

Hi this is Gary with MacMost.com. Let's take a look at using video special effects in iMovie.
So we are looking at iMovie 10 here and we're going to look at video special effects. I've got several projects here with a bunch of different clips in the project and we're going to look at how we can apply a special effect to one of these clips.
So with one of these clips selected the first thing I want to do is to hit the Enhance button and watch closely what happens in the Preview window here. You can see that adjustments have been made to basically automatically enhance the video quality. So it does a variety of different things and if you've shot your video on say a camera phone or just a typical point shoot camera and you think that maybe the quality could use a little boost, you might want to try the Enhance function here and see what it comes up with. If you don't like it you can always just click it again and turn it back off.
Now otherwise you can hit the Adjust button here and now we have a variety of different things that we can do with each clip. For instance we can click on Color Balance here and we can do a bunch of different things to adjust the color. You can use Auto for instance. Anything you do here you can just use Command Z to undo. 
We also have color adjustments here which gives you a whole wide variety of things that you can do with the video. You can use all of these to adjust the color in various different ways creating a variety of different effects if you want.
Now we can jump right to the Special Effects right here by clicking on this icon and we have a set of video effects. Click there and we get to choose which video effect we want. You can see there is a whole variety of different things here. For instance Film Grain is a very popular one; Dream like quality right there; Romantic; Heat Wave. There is a whole bunch of different things that you can do here depending upon what you want and what video you currently have got there. 
So let's look at Aged Film and select that. We can see that there will be streaks now in the film. It might be hard for you to see in the tutorial, but there are streaks coming up and down. It's kind of darkened it and created this aged film look to the video.
Anytime you want to remove an effect you can return here to the Effects and just simply select None and it will remove whatever effects you have applied to it before.
Now if you have applied an effect to a clip like let's say let's apply this Old World effect here and you want to then apply it to another clip, one of the things you can do is you can select it here and you can copy and then if you go to another clip here you can then go Edit and instead of paste you can do Paste Adjustments. One of the adjustments you can paste is Video Effects or you can do All. So if you've done some color adjustments and a video effect and things like that you can do All. Otherwise you can just paste the video effect in here and you can see now that the Old World video effect is now applied to this clip here as well as it is applied to the one before. It will take a second here to render it to the preview area.
There are some other effects that are not found here. So we will go to the Menu to find them. You can do things like add a Flash and Hold Frame. So notice where the playhead is in the middle of the last clip there. I'm going to select this. You can see what is going to happen. It is going to break it up into parts. I've got the first part which is normal. Then right where I had the playback head before you can see now there is a flash and a freeze and then apply this Ken Burns effect here and then it will continue afterwards. So if I play this back it will look like this. Maybe not that interesting with the a waterfall but with filming somebody playing sports or something like that it may create a little bit of a dramatic effect.
There is also a slow motion effect. So where I've got it selected here I can start to apply the Slow Motion. Modify/Slow Motion and let's do it down to 25% right there and you can see now this clip is going to play at a much slower rate. I can make adjustments to it by double clicking on the little turtle there and I can set it to a different speed. You can see the length of the clip, of course, will change. I can even have it speed up to be much faster or I can set it to a custom amount as well. You can see I can even then reverse the clip here.
The Modify menu actually has shortcuts to all of those here. You can see Fast Forward, Instant Replay. It brings up basically the same set of controls. I can, of course, use the Reset here to reset that clip back to how it was before. There are a few more things in the Modify menu that you may want to check out. For instance you have Fade To. You can have the video right where the playback is fade to black and white, sepia, or dream. So for instance fade to dream and it splits it here and now when I run it it looks normal or actually have the effect applied before and then it goes to a more dreamlike state there with the transition in-between. You can undo that. We also have Add Freeze Frame. So right where that spot is there I can set it to add one. You can see it is like the Flash to Freeze Frame but it is without any special transition. However notice that since there are black bars there you can now set your own transition. So you can put your own transition in there and then have another transition again at the end before it resumes normal playback.

Comments: 5 Comments

    David Caley
    12 years ago

    Thanks, very helpful, I had learned iMovie prior to this edition and found I was lost. You have encouraged me to proceed to master the new format. David

    Linda
    12 years ago

    Hello Gary. Glad you posted this video about the new features in iMovie. I have been trying to capture a still image and I am having a difficult time. Please send info. Thank you.

    M. Jae
    12 years ago

    I appreciate your videos and that you provide transcripts - particularly helpful for those of us who are deaf or hard-of-hearing, by the way. Working with the iMovie 13, I can't figure out why my cropped video clips end up at different layers in the timeline when I drag them into it. Please help.

      12 years ago

      Not sure what you mean. In iMovie version 10 (there is no 13) you can drag a clip to the timeline before or after a clip already there. Or, if you drag it above the timeline it can be used as an overlay (picture-in-picture, cutaway or side-by-side).

Comments are closed for this post.