
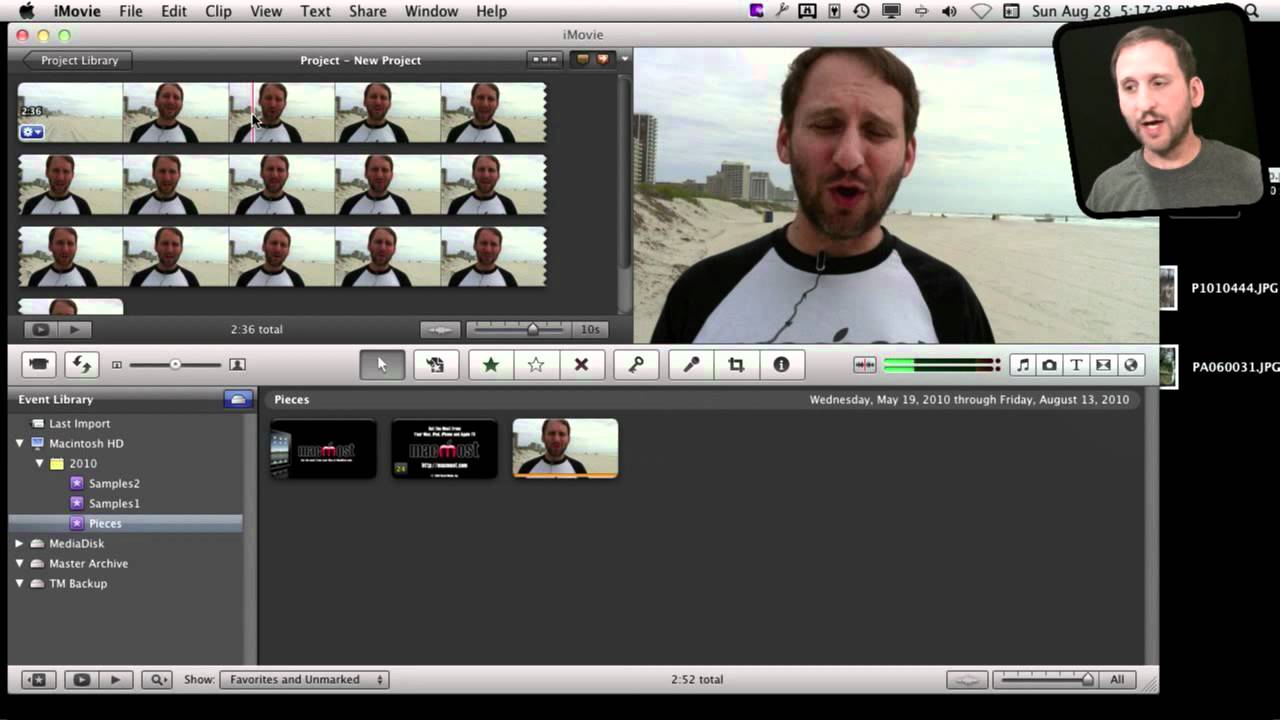
iMovie limits you to one picture-in-picture effect at a time. But you can cheat by placing multiple pictures in a single image using an image editing tool.
▶ You can also watch this video at YouTube.
▶
▶ Watch more videos about related subjects: iMovie (138 videos), Video (65 videos).
▶
▶ Watch more videos about related subjects: iMovie (138 videos), Video (65 videos).


Making movies is very complicated in imovie.This is just one more reason I just us magic DVD.Sitting hour after hour in front of computer screen is not fun.
This is very useful information and I love this site and the podcasts...... I was trying this trick over and over and over, and I always got a white background instead of a transparent one until I realized that you said at the beginning of the video that you are in "Lion". GREAT! all this wasted time trying this hack on my Snow Leopard 10.6.8 Machine.
This is a great hack, but my main machine is Snow Leopard. I do have Lion on my old MacBook Pro, which I no longer use for my main editing purposes. I installed lion there first to see if all my tools I use for my business will work.
I will try it on my lion machine and see what happens.
Can you let us know if from now on all your instructional videos will be exclusively for Lion? That will be very helpful.
Thanks for this awesome website!
This should work in Snow Leopard too. Even if it doesn't, just use any graphics too like Photoshop, Seashore, GIMP, Pixelmator, etc. As long as you have a transparent background and save as 32-bit PNG you can do it.
ok I'm back to say thanks Gary, it worked. I just logged in from my macbook Pro running Lion to my wifi connected iMac and transferred the images to make the trick work.
It was really quick and easy to implement into my edited video and it works amazingly.
Just for shit and giggles I tried it again on snow leopard but I still couldn't get it to work as a transparent image.
I'm really good at editing videos, but I really suck at working with image editors.... go figure. LOL
Gary, I have no words to tell you how much grateful I am with all the advises, tips and trick you've had provide us. They've helped me a lot, that you can't imagine. On Final Cut and iMovie.
Thanks.
Is it possible to achieve a similar effect, but with multiple videos rather than still pictures?
No. If you need that I would move up to something like Final Cut Pro X, where you can do that easily.
I have figured out am easy way to do multiple video picture in picture. Do your first video with your picture in picture. Export that onto desktop. Import that new video into iMovie and start a new project and drag that video (that already has the first picture in picture in it) and then you can add a second video as a picture in picture so you can end up with two or three video picture in picture.
I have tried several times to get this to work. It looks the same as your screen until I hit the delete key. Instead of getting the checkerboard background, I get a totally grey screen and a message that says.. "you don't have permission to write to the folder the the file "(whatever I rename the photo)" is in. What am I doing wrong. I contacts Mac support and they were unable to help me. Is there a setting that should be obvious that I am missing? Any help would be highly appreciated. I have the Lion, Movie 11.
That's an odd message. Try saving the file first, to your Documents folder or somewhere where you definitely have full write permissions.
Hi Gary, how can make wordings appearing one line at a time on the side or anywhere on the screen? Like if i am making giving a list of ingredients, i would like the ingredient list to appear on screen as i speak.
Just use titles. One title per ingredient.
How can you do the same thing but with video?, im not worring about the audio cuz im not going to hav it anyway...
You really can't, unless you want to add one, export, import, add another. Have to move up to a more "pro" solution like Final Cut Pro X to make it easier.
Thank you so much!!! I've been searching everywhere for a workaround for iMovie's limit on single PIPs.
Hi Gary, I did exactly as said and as shown in this video. I dragged the image with transparency into the timeline and use PIP. when I play the video it freezes when it runs over the transparency PIP. Funny thing is when I use the mouse the video captures the transparency PIP. I have snow leopard iMovie 11. Is there a bug. I googled and I'm not the only one facing this problem i.e. those using iMovie 11 with snow leopard. Have you come across this problem with snow leopard? Do you have a work around. It's a pity if this does'nt work with snow leopard because I have a great design in my head but cannot execute it in iMovie. I appreciate all the help / suggestion you can offer. Thanks.
Are you just talking about in the preview? Remember, that's just a preview. Export to see the real product.
Gary, you are RIGHT! I exported to see if indeed it would match the preview. And the PIP showed up in the final movie. Hmm, so the lesson I learnt in this situation, don't rely on the preview when a PIP with transparency is used. Thanks Gary for the suggestion. :)
Well, no necessarily. A "preview" is a quick real-time render of the video to help you while you edit. How good the preview is depends on your resources. A new quad-core i7 iMac with 16GB of RAM can give you a nice preview. A 2006 MacBook will cut a lot of corners to show you a preview.
Well, I have an iMac 2.7 GHz 7QC 12GB 1333MHz RAM, and the PIP with transparency doesn't show up during preview. And she's actually a mountain lion and not a snow leopard as stated above. I feel my resources is sufficient to output a near-to-production 'preview', so don't understand why it doesn't. I am planning to report my findings to Apple. It's just not efficient to create a 9-minuted video with lots of PIPs using transparency when I don't have the full editing support. To me it's less than 'standard', for a desktop.
Don't expect too much from real-time "previews" -- it wasn't that long ago that a few minutes of video took hours to render and previewing your editing was very low quality. There always has to be a trade-off. Too much quality in the preview and it shows down editing. Too little quality and it is hard to see what you are doing.
Another thought: perhaps you aren't importing your video with the optimize option turned on?
In this video project, I am using only still images throughout, and Ken Burns for effect. However, I've imported videos for my other projects, but I don't take note about the optimize option. I'll take note of this. Can you pls. point out to me the MacMost Now video # so I know where to find the optimize option? Thanks Gary.
I just did a test. I chose a video clip - I made sure it's optimized. Found "optimize video" in the File menu for the event and click on "full original size". And then I copy a section of the event and imported that into the timeline. And then imported the PIP with transparency into the timeline over this "optimized" clip. The PIP is still not showing up when 'previewing' but does show up when I use the mouse. Gary, there are two option under Optimize video - (1) Large 960x540 (2) Full original size. What's the best option to choose for importing video / creating events in iMovie?? Appreciate your recommendation. Thanks.
Can't remember if I mention it in a video. It is just a checkbox that is part of your import dialog box. Go to File, Import, Import Movies. You'll see it there: "Optimize video."
The "best" option depends on your needs. 960x540 will create a small, easier-to-manage file. But if you need better quality then you have to stick with full original size.
Okay, I found the checkbox, just as you said when I click on File, Import, Movie. The result is still the same i.e. similar to when I use still images. I've no comparison to what iMovie could do prior to Mountain Lion so I am expecting to get what I see, but not the case in this instance. I feel that it's important for Apple to note this so they could, hopefully, work on it to improve efficiency for their future version release. To me it is important for video creation that uses PIP with transparency that is NOT static as it has overall impact on the flow / design of the video. Thank you Gary for all your inputs, Much appreciate them.
Of course, the answer might be simply moving to a more professional app. iMovie is meant to only go so far. Then there's Final Cut Pro, Adobe Premiere, etc.
I am having so much trouble doing this stupid side by side still picture thing! Ok so I'm in preview trying to resize my picture to 1280 by 720 and it won't let me because it says it's too large. What do I do know?
PS- All I want to do is get 2 pictures side by side for this video I'm making for my wedding reception. I don't need multiple effects, just 2 pictures in one slide. I've watched all the videos about dragging the clips on top of each other, but I can't even get any photos in my event library to drag on top of the photos already in my slide show! I'm very frustrated!
If you can't figure it out in Preview, then perhaps another image editing app like Pixelmator or Seashore. Or, get a friend to help -- lots of people know tools like Photoshop, for instance.