
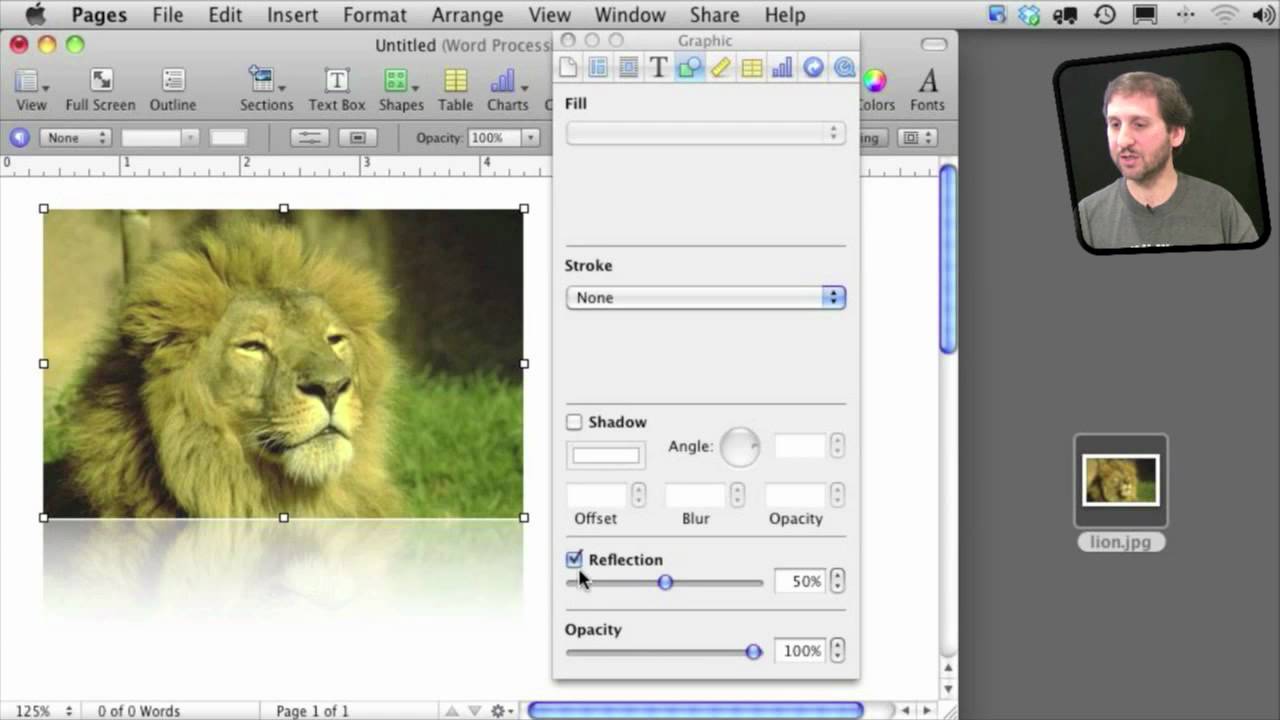
In iWork Pages you can import images and manipulate them in various ways. You can resize, rotate and crop images. You can also place them inside of shapes and adjust colors.
▶ You can also watch this video at YouTube.
▶
▶ Watch more videos about related subjects: iWork (42 videos), Pages (236 videos).
▶
▶ Watch more videos about related subjects: iWork (42 videos), Pages (236 videos).


How can I make just a section of a photo opaque? I want to put a paragraph of text over a photo and lighten the background in a rounded rectangle to make the text more readable? thanks!!
Put another shape on top of it. Make it a white rectangle for instance. Then set it to be 50% opaque. But that shape in between the photo and your text.
I copy pictures into pages files and manipulate them, ie make my own labels...then trying to save a portion of the page as a picture (not a tiny 150 pixels one), also creating documents to post as pictures onto my blog - no luck! used to use and love publisher, pages is so frustrating!
Thanks for the great video. How can I make an image fill the entire page (i.e. full 8.5" x 11" - edge to edge)? I will only want that on the first page of a multi-page document, the rest of the pages will need headers and footers (I want to make an e-book cover on the first page of the document only)
Just import a large image, and then drag the corners to expand it to the size you want.
Is there any way to take the outline of an image (I have this already) and fill it in with color or even just solid black? Like coloring it in a coloring book?
So fill in sections of an image with colors? That's not something you would do in Pages. You would use an image editing app for that, like Photoshop or Pixelmator.
Gary, how can one import a photo from iPhoto into Pages with its title? I am writing a book in Pages that has lots of photos that are stored in iPhoto. I would like to import them with the title was created in iPhoto.
Thanks
Can't think of a way to do that. There'd have to be some sort of mechanism for taking the title and then mapping it to a caption field of some kind. There's nothing like that.
Hi, Great tutorial. New to pages so thanks. I have a document with lots of photos. When I reduce image size the image ends up grainy. Especially when then printed to PDF. The originals are shot in about 8 megapixels and have no resolution issues, just huge files. Please help? Need to reduce file size from 300+meg as most images are masked and still original resolution. Dave
You need something in-between. The only way is to edit the photos in an image editing program first, get the to exactly what you want, and replace the ones in your document. Lot of work, though.
That's ridiculous. A word processor/desktop publishing program that doesn't produce print quality images??? Come on, you're kidding right? I've done this in various versions of publisher for 10 years on PC's. I thought Apples were the graphic designer's friend. I can either produce a 280 meg PDF with print quality images or I can produce a 2.1meg PDF with images that aren't even good enough for a family Christmas news piece??? Back to Office for Mac... What a PITA. Thanks for the tutorial anyway
It produces print quality images, but apparently not if you use the "reduce image size" option. Just do what I suggest and use images that are at a ready size. Or, use the large files this time. Not sure what you think any other package would do that is different.
Hi Gary,
The problem is that I generally email out this photo heavy christmas newsletter every year. Up until now - for 10 years on PC - I've used Publisher. I may have to revert to the Acer Netbook & publisher again, which seems completely stupid when I shelled out $2k for a mac. In publisher selecting parameters during the image compression process saw Office Picture Manager/Publisher reduce the image size without compromising the resolution for either print or screen viewing and reduced a
200+Mb document to an emailable 5Mb document which printed well at the other end. I can't produce anything other than fuzzy blurry images that lose all definition of faces of my kids or what they are doing at in a 4Mb document of 5-6 pages, which is a huge failure of the software/hardware combination. I've reproduced the first page in Office for Mac Word and still the same result. It seems to be a Mac problem.
That a $300 Acer Netbook outperforms a $2k Mac in this manner is a problem.
You are comparing the wrong things. It isn't Acer vs. Mac. It is Publisher vs. Pages. It is simply that Publisher has a different compression function than Pages does. Publisher probably does 100s of things that Pages doesn't. And Pages does 100s of things that Publisher doesn't. You were relying on a very specific function in Publisher that Pages doesn't have. Could have been the other way around too.
And, BTW, did you try to do it another way?
I just played around with it for a bit and you can File, Export and choose PDF. Then you get three export settings for images: Good, Better and Best.
Also, you can Print, select Open in Preview, and then export from there using the Quartz filter "Reduce File Size." You can make your own version of that and use any file size you wish: http://macmost.com/advanced-print-as-pdf.html
I am trying to work with images in pages where I need to zoom out the photo after it's imported into the pages document (because I can't figure out how to make the photo size small enough so that my husband's head doesn't get cut off once it's imported). What might I be doing wrong?
Watch the video. I show you how to adjust the mask around 3:19.